Replacing a ceiling panel

If you have a damaged ceiling panel, you don't need to replace the whole ceiling. You can piece or replace the spoiled panel. There are two types of manufactured home ceiling panels: fiberboard and textured gypsum wallboard. The wallboard is more widely available. (Be sure to fix the problem that caused the damaged panel before replacing it. See our section called "Mobile home repairs: Drafts and leaks.")
Here are some tips:
- The panels installed in the factory are four feet wide and run the width of your manufactured home. You're not likely to find a panel that long, and if you did, it would be hard to handle. If the whole panel is ruined, replace it with two eight-foot panels cut to fit. Or, cut away the damaged area and add a new piece. It's a good idea to find someone to assist you because these panels are difficult to install alone.
- Matching the texture and thickness of your panel is more important than matching the color. You can always paint the ceiling after you've installed the new panel.
- You will also need to match the battens-the strips that cover the grooves between the panels.
- If the damage was caused by water, the insulation must be dried out or replaced. While you have the ceiling open, you might want to add more insulation. If there is no vapor barrier between the insulation and the ceiling, add one. A vapor barrier protects against condensation moisture.
- The ends of ceiling panels are installed between the sidewalls and the roof. You don't need to dig these ends out. Slice the ceiling panels at the wall edge. To support the new panel and cover the edge, add 1 x 2 molding strips that have been stained or painted.
Materials you will need:
Gypsum wallboard panel(s), 1 x 2 inch finished molding, rosettes, battens, 1 ¼ inch drywall screws, measuring tape, utility knife, straightedge, screwdriver or drill.
Step 1: Before you Begin
If there is a ceiling fan or light, turn off power to the work area and remove the fixture.
Step 2: Remove Trim
Pry off the batten and molding strip holding the damaged panel from the next panel. If there are rosettes fastening the panel to the roof truss, remove them.
Step 3: Measure and Cut
Determine how much of the panel needs to be removed. Find the roof truss (these are spaced every 1 to 2 feet) and measure from the center of the truss to the wall. Or measure the full length, if you are removing the whole panel. With a utility knife and straightedge, cut new panel(s) to fit.
Step 4: Remove Ceiling Panel
Using a utility knife and straightedge, cut the ceiling panel along the wall edges. Remove nails, staples or screws holding the panel to the roof truss. To remove less than a full panel, make your cut along the center of the truss.
Step 5: Clean Truss Surface
Pull remaining nails and staples from the exposed roof trusses. The surface must be free of any protrusions or the new panel may bulge.
Step 6: Install Panel(s)
Lift panel in place and secure the edge to the roof truss with 1 ¼ inch drywall screws. Secure to truss along wall edge as well.
Step 7: Add Rosettes
To keep the panel from buckling in the middle, add a screw with a rosette every 18 inches along the center of roof trusses.
Step 8: Add Battens and Molding
Attach battens between ceiling panels to cover the joints. Add molding along the wall edges.
Related articles
You may also like
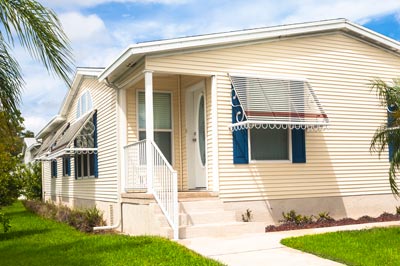
Mobile home siding cleaning
Regular maintenance will keep your mobile home siding looking new and last longer. Use our quick tips to keep your siding looking good.
What's lurking below your mobile home?
Do you remember when you were young and had to check under your bed for monsters before you could go to sleep? I sure do!
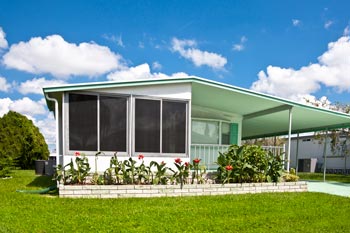
Do it yourself mobile home awning
Get quick tips on how to install a new awning, carport, or sunroof to your mobile home from Foremost Insurance.