How to change your car's oil
I go to the same place every time I get my car's oil changed. And thanks to the sticker on the upper left-hand side of my windshield, I know exactly when to go! However, I realized during my last oil change they raised their prices, so it costs far more than my initial budget allotted. On top of that, I had to wait over an hour for them to complete the job - despite having an appointment!
With the proper tools, knowledge and location, I would have considered changing the oil myself. After hearing from friends who do it on their own, I decided to research the process. It turns out that changing your oil isn't that hard, and takes only about 30 minutes.
If you hate taking the time and money to have a shop change your oil, changing it yourself is the perfect project to take on. After learning how to do it myself, I put together some helpful guidelines.
Before you start, make sure you have these tools on hand:
- Car jack and stand
- Eye protection
- Rubber/latex gloves
- Oil drain pan (make sure it holds up to six quarts)
- An old towel or rags for loose oil
- Oil (check your car's manual to find out which type you need)
- Funnel
- Oil filter wrench
Once you have all the necessary tools, warm up the engine for a few minutes to get the oil moving (if it's warm, the oil will flow more easily). Let's begin!
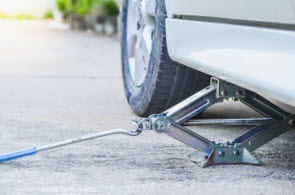
- Prepare the jack and jack stands. It is extremely important to make sure the vehicle is properly supported before sliding underneath your car. Check your owner's manual for the proper place to position the jack. Once the vehicle is secured, put on your safety glasses and crawl under the vehicle to locate the engine's oil pan and drain plug.
- Find the oil drain plug. Grab the oil drain pan and place it underneath the drain plug so the oil has a place to drain.
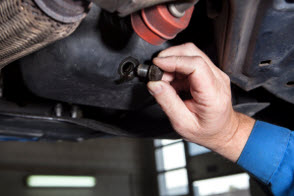
- Let it drain. Put on your rubber gloves and unscrew the drain plug with the correct size pocket wrench, letting your oil empty out. It may take several minutes for the oil to drain out. Be careful not to burn yourself - the oil may be hot!
- Find the drain plug washer and inspect it. If it looks damaged or old, it will need to be replaced with a new one. When you reinstall the drain plug, make sure you do not over-tighten.
- Find and remove the oil filter. Depending on your vehicle's model, the filter will be located on the front, back or side of the engine. Use a filter wrench for this part, and be sure to rotate counterclockwise to remove it. When you do this, more oil may come out of your vehicle, so keep the oil pan nearby.
- Install new filter. Set the old filter to the side and get your new filter to install. Coat the rim of the new filter with clean oil, and then screw it in. Again, make sure you don't over-tighten the filter.
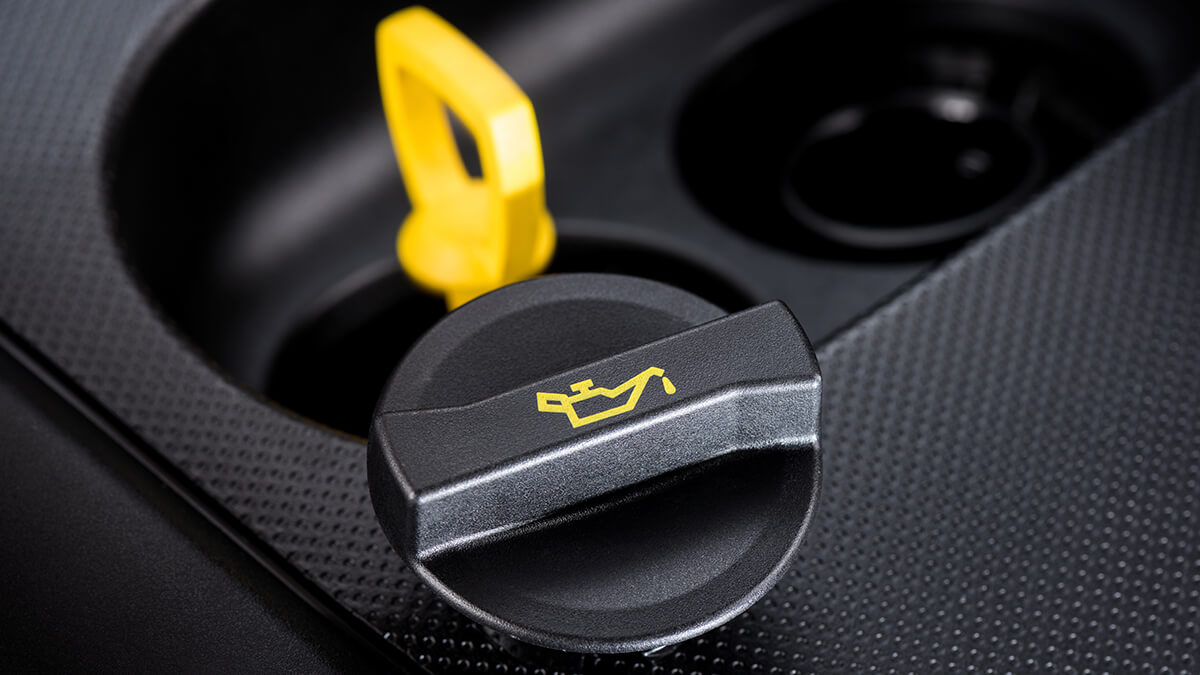
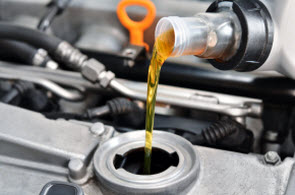
- Refill with fresh oil. Once the new filter is in and properly sealed, refill the oil! Remove the oil cap underneath the hood of your car, place a funnel inside the hole and begin to pour. Your car's manual should tell you what kind of oil you need, and how much.
- Clean excess oil. After you fill up the car with oil, close the cap and clean up any excess oil that may have spilled on the engine.
- Start the engine. Running the engine lets the new oil circulate. Shut it off after a few minutes so you can look for any leaks underneath the vehicle. Be sure to re-check your oil levels, too.
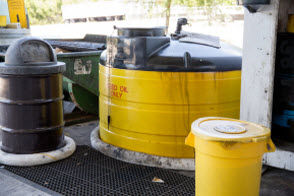
- Final clean up. The hard part is over! Now, it's time to clean up any mess. But be sure to dispose of motor oil in an approved location - it's illegal to dump it in an unapproved area! Use your funnel to pour the old oil from the drain pan into an empty container (you can use the one you bought your new oil in). Check with your local auto parts store; they may be able to dispose of it for you!
Last but not least, pat yourself on the back for a job well done! By taking on this project, you ended up saving time and money, and got more acquainted with your vehicle. Safe travels on the road!
* https://www.dmv.org/how-to-guides/change-oil.php


